Common Mistakes in Clear Bra Installation
Clear Bra, also known as paint protection film (PPF), is a popular choice for vehicle owners looking to preserve their car's finish. However, improper installation can lead to a variety of issues that defeat the purpose of using this protective film. In this article, we will discuss common mistakes in Clear Bra installation and provide tips to help you avoid them.
Understanding Clear Bra Film
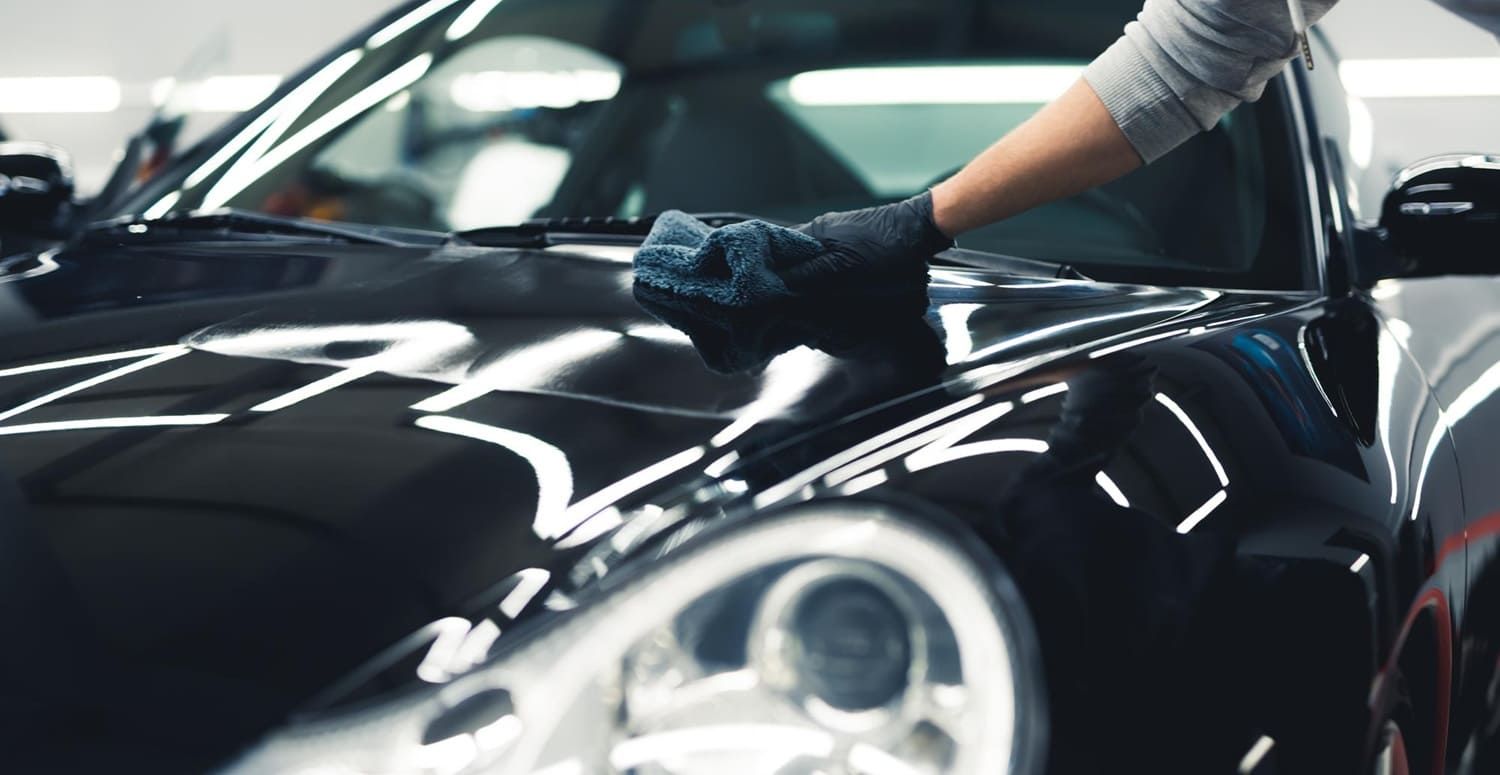
Before delving into the common mistakes, it's essential to have a basic understanding of what Clear Bra film is and its purpose. Clear Bra is a thermoplastic urethane film applied to the painted surfaces of a vehicle to protect it from chips, scratches, and other minor damages. Despite its protective benefits, improper application can result in unsightly blemishes and potential damage to the car's paintwork.
Common Clear Bra Film Errors
Misalignment During Application
One of the most common errors in Clear Bra installation is misalignment. If the film is not aligned correctly, it can result in uneven coverage and visible edges, which detract from the vehicle's appearance. To avoid this, ensure that the film is properly positioned before starting the application process. Taking the time to double-check alignment can save you from having to redo the installation later.
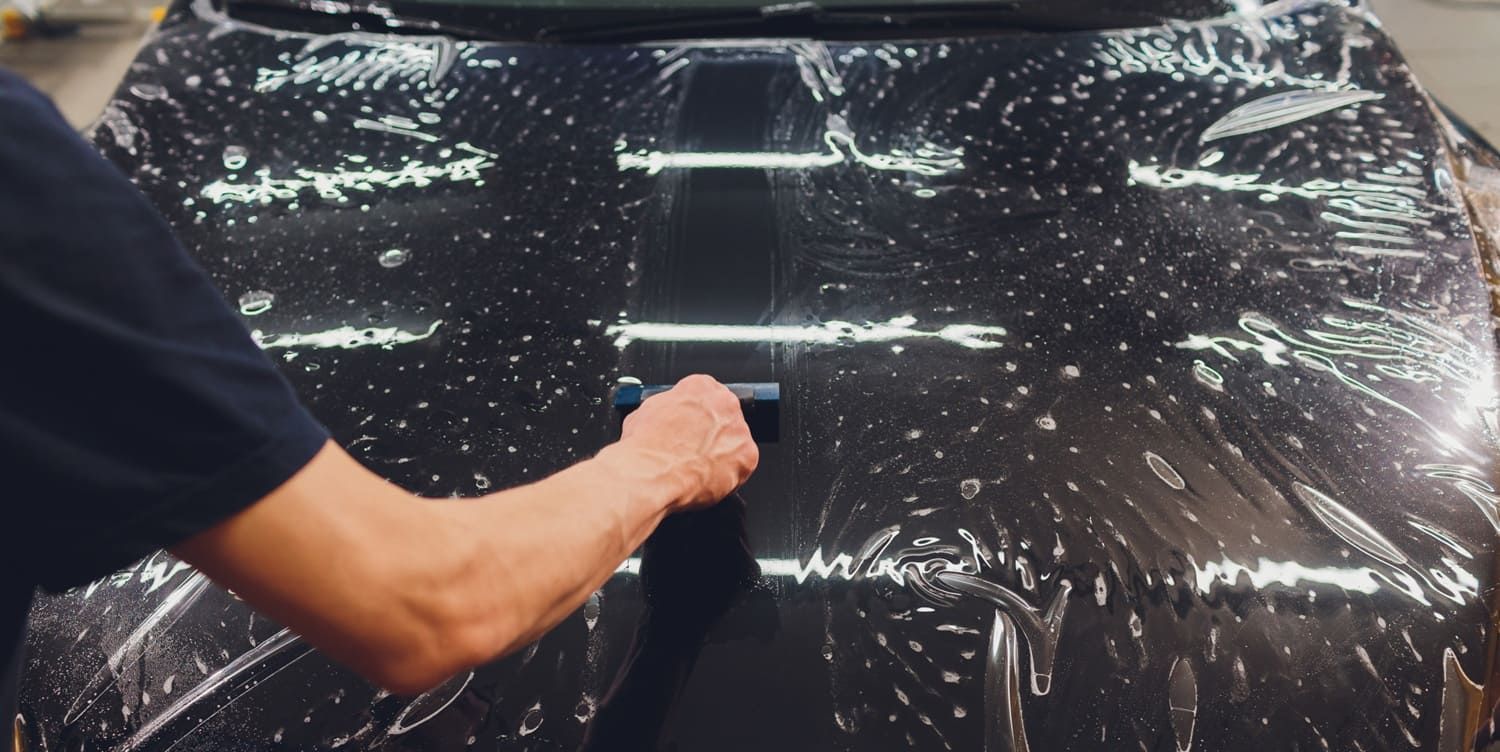
Inadequate Surface Preparation
Proper surface preparation is crucial for a successful Clear Bra installation. Failing to thoroughly clean and prepare the vehicle's surface can lead to adhesion problems and trapped debris underneath the film. Before applying the film, make sure the car is washed, dried, and free of any contaminants. Using a clay bar can help remove any remaining impurities that might affect the film's adhesion.
Clear Bra Film Application Errors
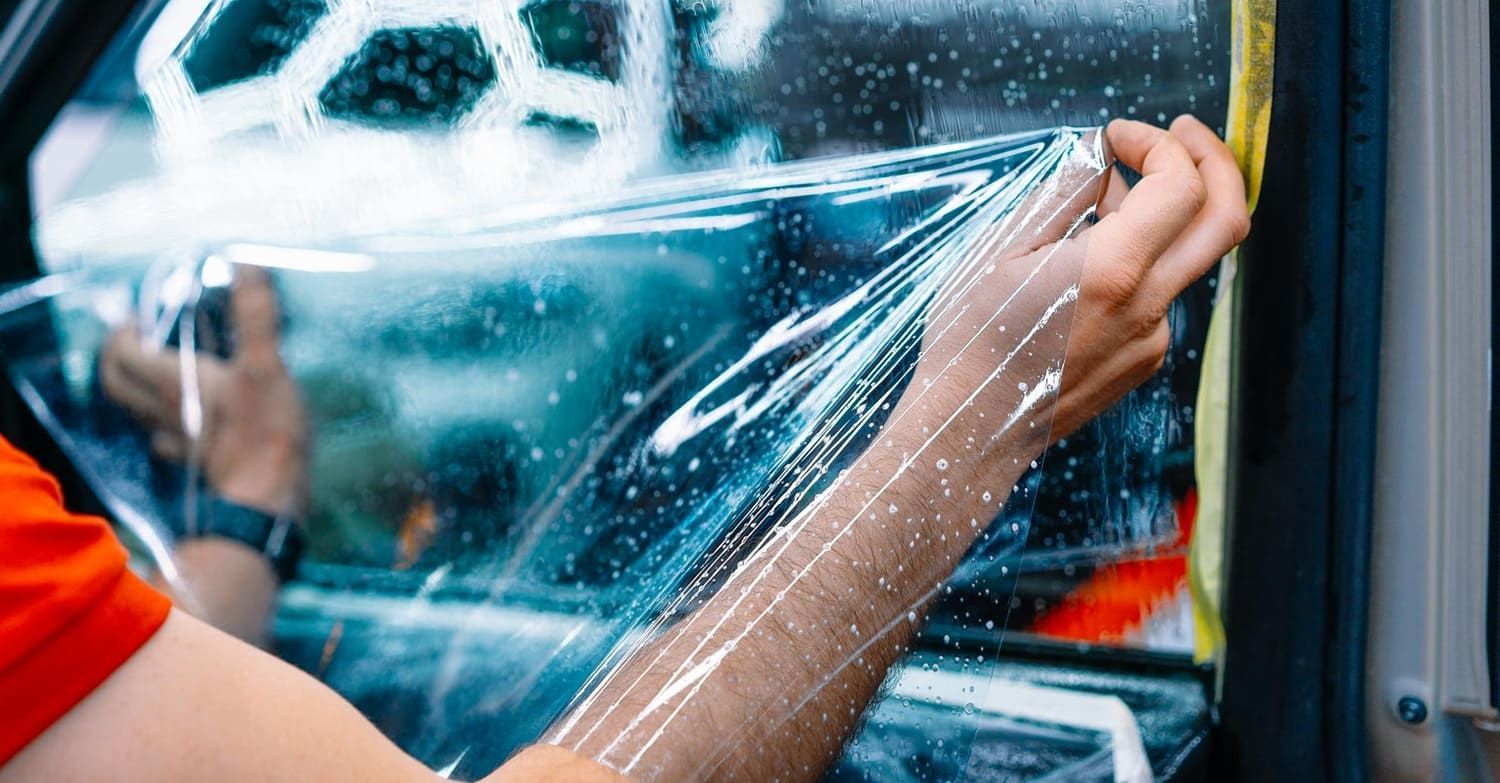
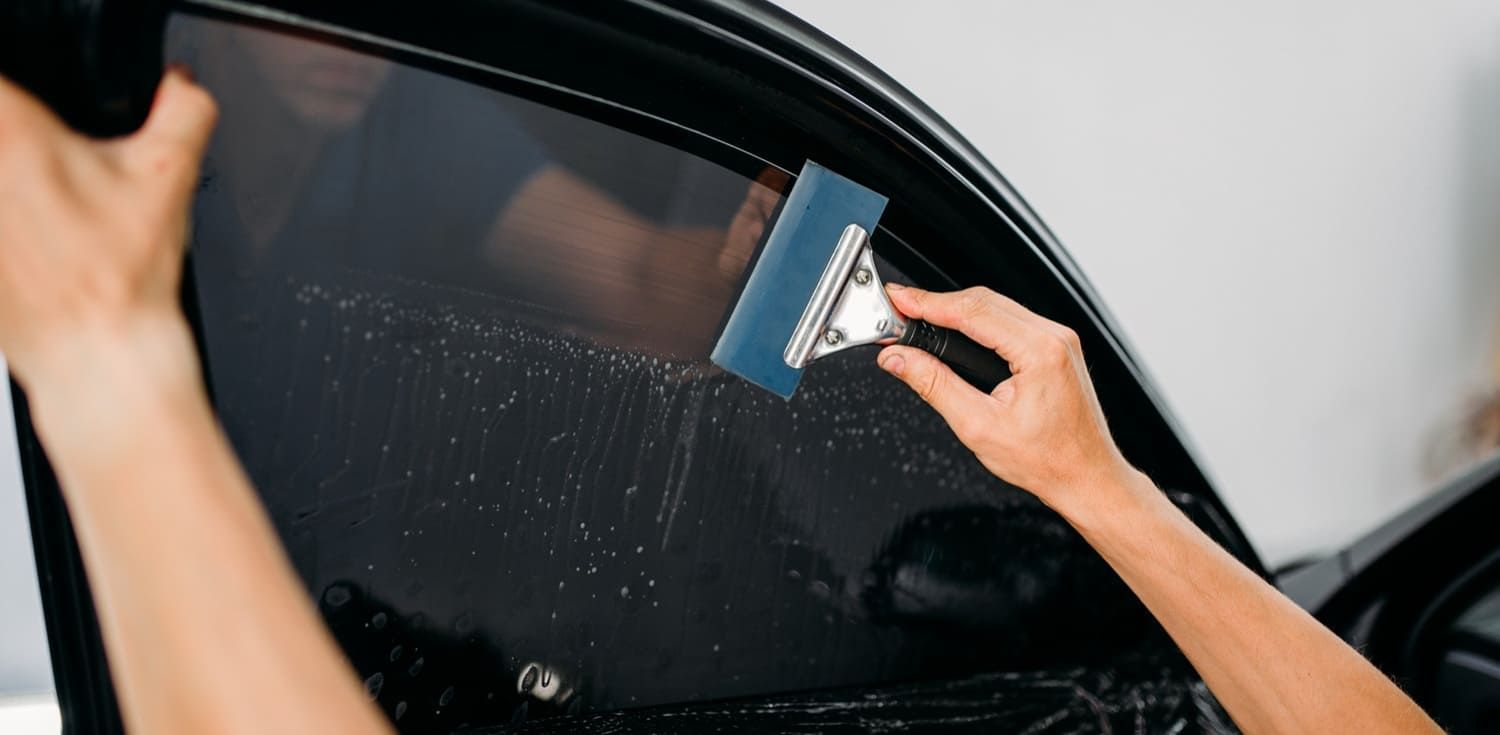
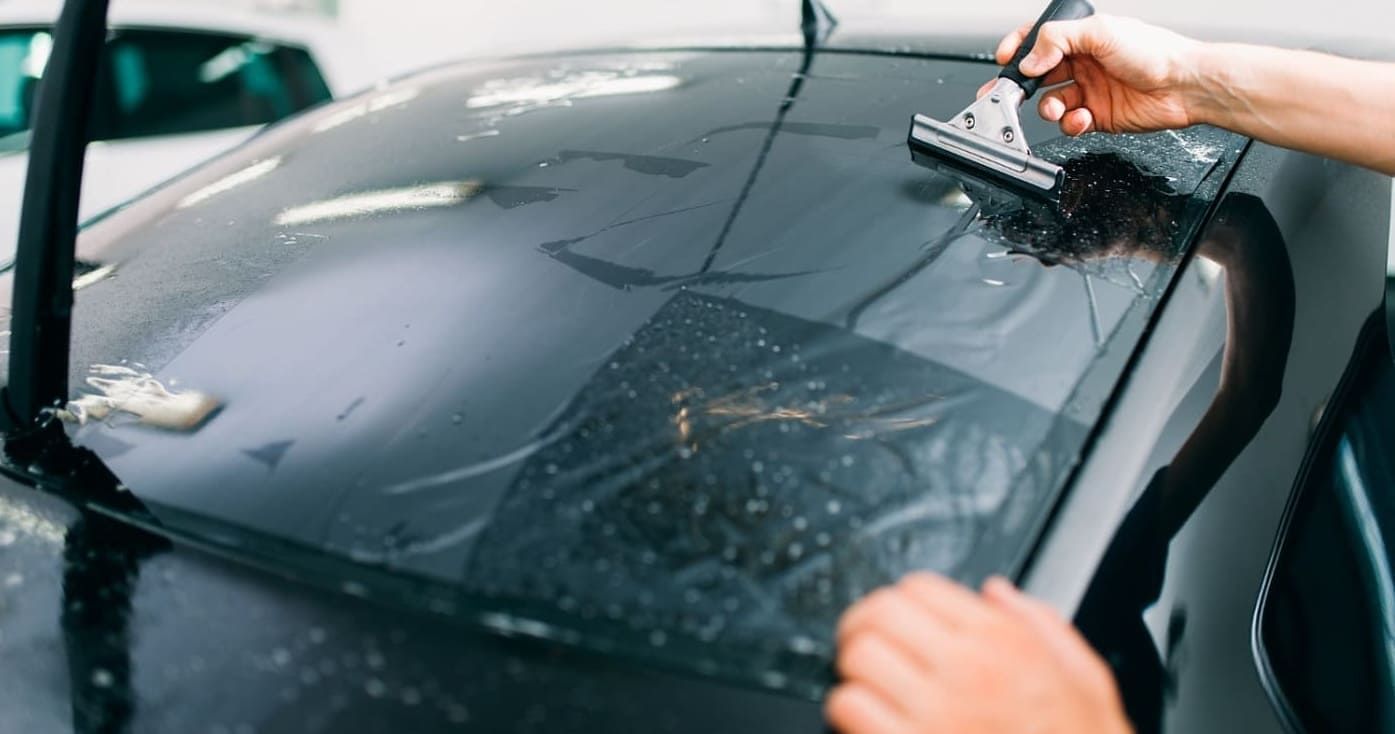
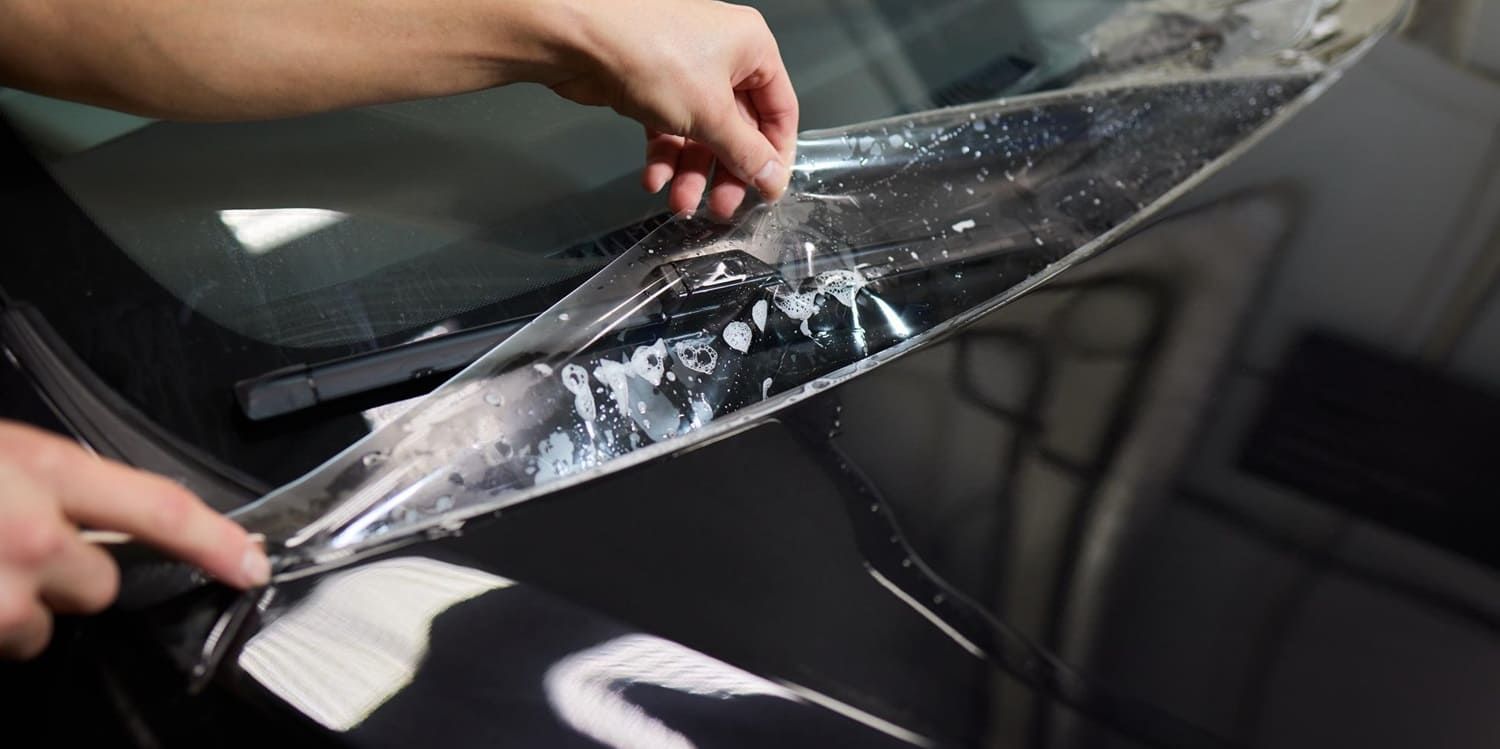
Trapped Air Bubbles
Trapped air bubbles are a common issue that can occur during the installation of Clear Bra film. These bubbles not only look unsightly but can also compromise the film's protective qualities. To prevent this, use a squeegee to carefully smooth out the film as you apply it, working from the center outward to push out any air. Additionally, using a slip solution can help the film glide smoothly over the surface, reducing the likelihood of bubbles forming.
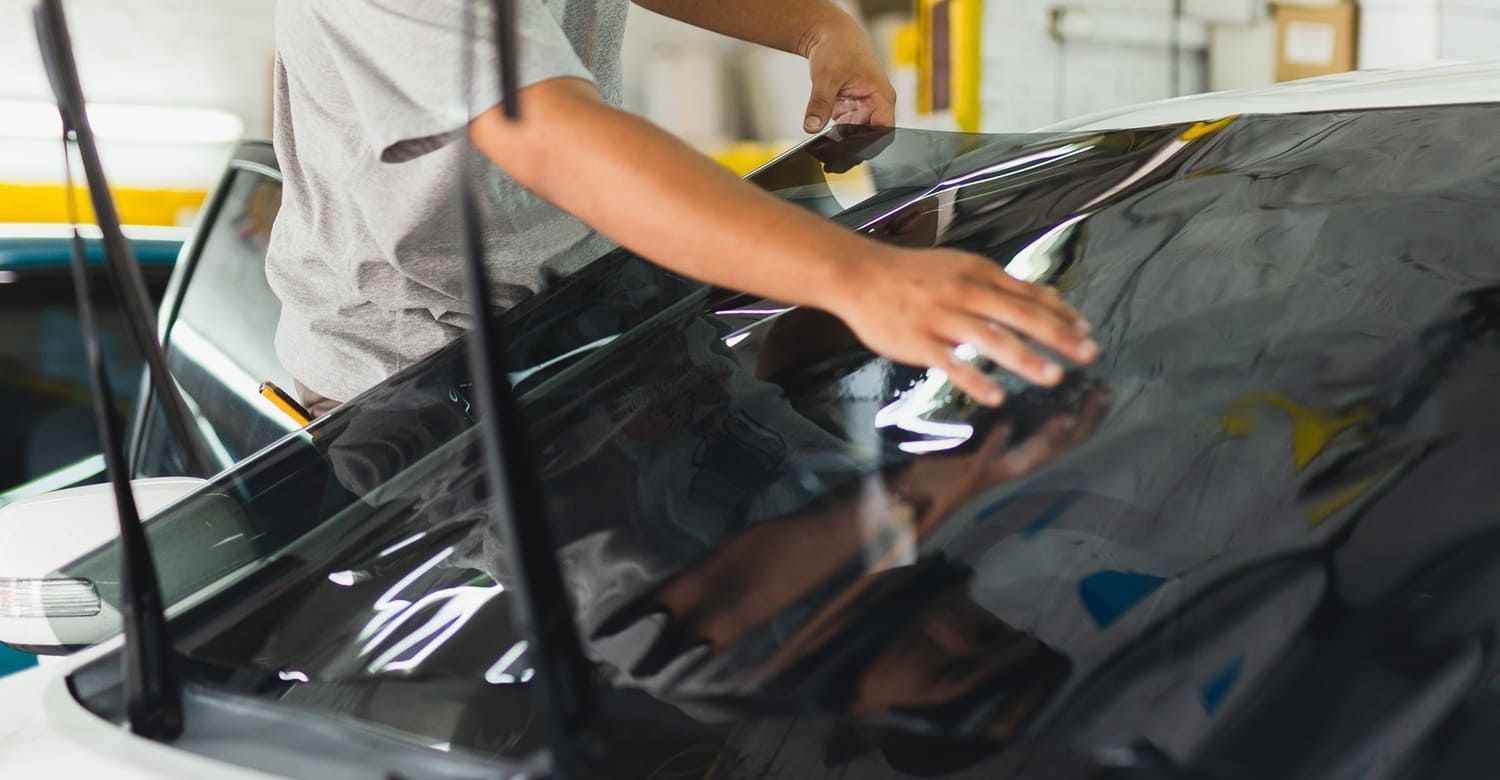
Stretching the Film Too Much
Another common mistake is overstretching the film during application. While some degree of stretching is necessary to conform the film to the vehicle's curves, excessive stretching can cause the film to become thin and weak, leading to premature wear and tear. It's important to follow the manufacturer's guidelines for stretching and to apply the film with even pressure to avoid overextending it.
Clear Bra Installation Problems
Cutting Directly on the Paint
Cutting the film directly on the vehicle's paint is a risky practice that can result in scratches or cuts to the paintwork. Instead, use a cutting tool with a protective edge to trim the film away from the paint surface. Alternatively, use pre-cut kits that are designed to fit specific vehicle models, reducing the need for on-vehicle trimming.
Ignoring Temperature and Humidity Factors
Environmental factors such as temperature and humidity can significantly affect the installation process. Applying Clear Bra in extreme temperatures can lead to adhesion issues or cause the film to stretch improperly. Ideally, perform the installation in a controlled environment with moderate temperatures and humidity levels to ensure the best results.
Clear Bra Film Bubbles and Paint Issues
Improper Film Adhesion
Improper adhesion is a common problem that can lead to the film peeling or lifting over time. This issue often arises from inadequate surface preparation or incorrect application techniques. To ensure proper adhesion, follow the manufacturer's instructions carefully and use the recommended tools and solutions. If you notice any areas where the film is not adhering properly, address them immediately to prevent further issues.
Paint Damage from Clear Bra
While Clear Bra is designed to protect your vehicle's paint, improper installation can actually cause paint damage. Common causes include using the wrong type of film, applying too much pressure during installation, or removing the film incorrectly. To avoid paint damage, select a high-quality film that is compatible with your vehicle's paint type and follow the removal instructions carefully when it's time to replace or remove the film.
Avoiding Paint Damage from Clear Bra
Choosing the Right Film
Not all Clear Bra films are created equal. Some are better suited for specific types of paint or vehicles. It's crucial to choose a film that is compatible with your car's paint and offers the level of protection you desire. Research different brands and consult with professionals to find the best option for your needs.
Professional Installation vs. DIY
While DIY installation is possible, professional installation is often recommended, especially for those with little experience in applying Clear Bra film. Professional installers have the necessary tools, skills, and experience to ensure a flawless finish, reducing the risk of common mistakes and ensuring the film's longevity.
Conclusion
Clear Bra installation can be a valuable investment in your vehicle's longevity and appearance, but it's essential to avoid common mistakes that can compromise its effectiveness. At Top Line Tints & Audio in Cape Coral, FL, we provide expert installation to ensure your Clear Bra film offers maximum protection without the risk of damage. By understanding and addressing these potential issues, you can ensure a successful installation and enjoy the benefits of a well-protected paint job.
Whether you choose to tackle the installation yourself or hire a professional, taking the time to do it right will save you time, money, and frustration in the long run. Contact us today for a free estimate and learn how we can help protect your vehicle with a professional Clear Bra application.